Setup iTrack
The iTrack EDI server needs to know who the connecting client is, thus an initial setup with at least one Practice Number and System ID combination needs to be done. These steps are the same to add or remove practices if more than one Practice Number and System ID combination is used from the same site. Follow these steps to perform the iTrack setup:
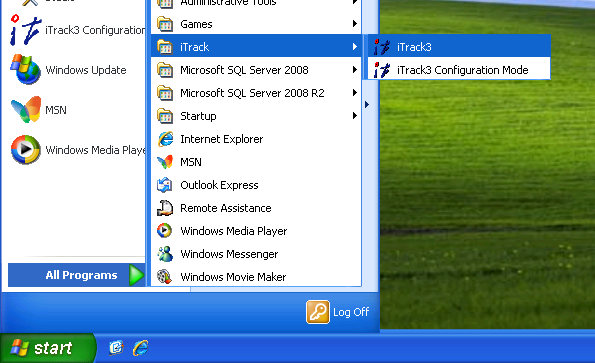
- Open iTrack.


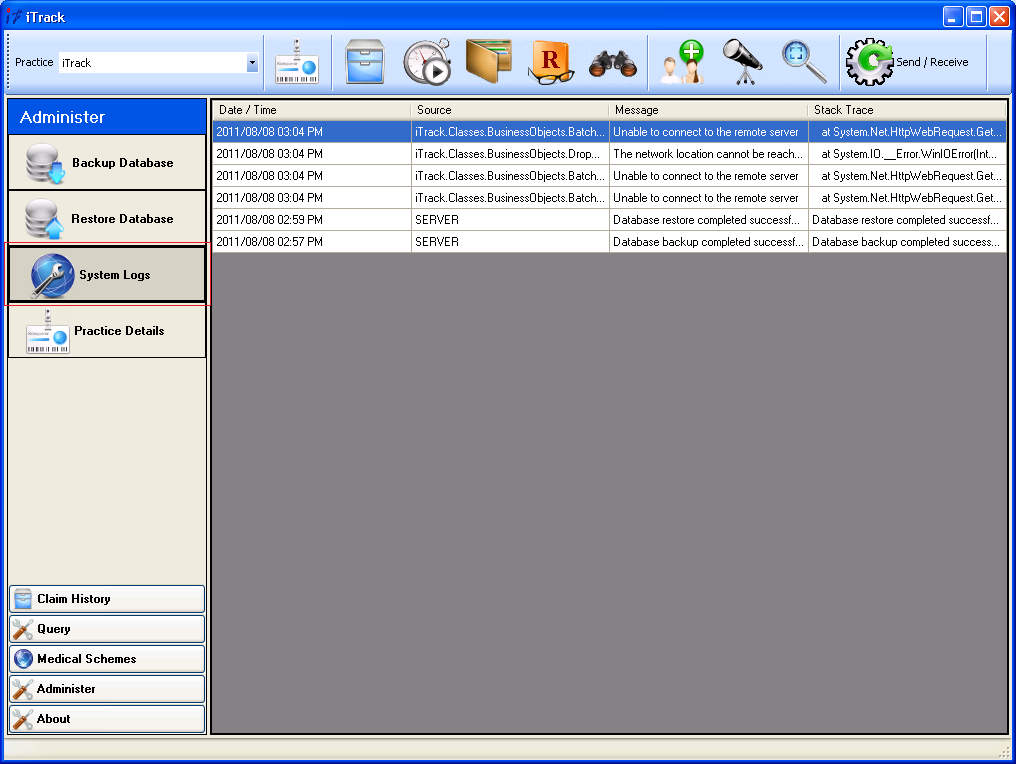
- Click Administer.

- Click Practice Details.
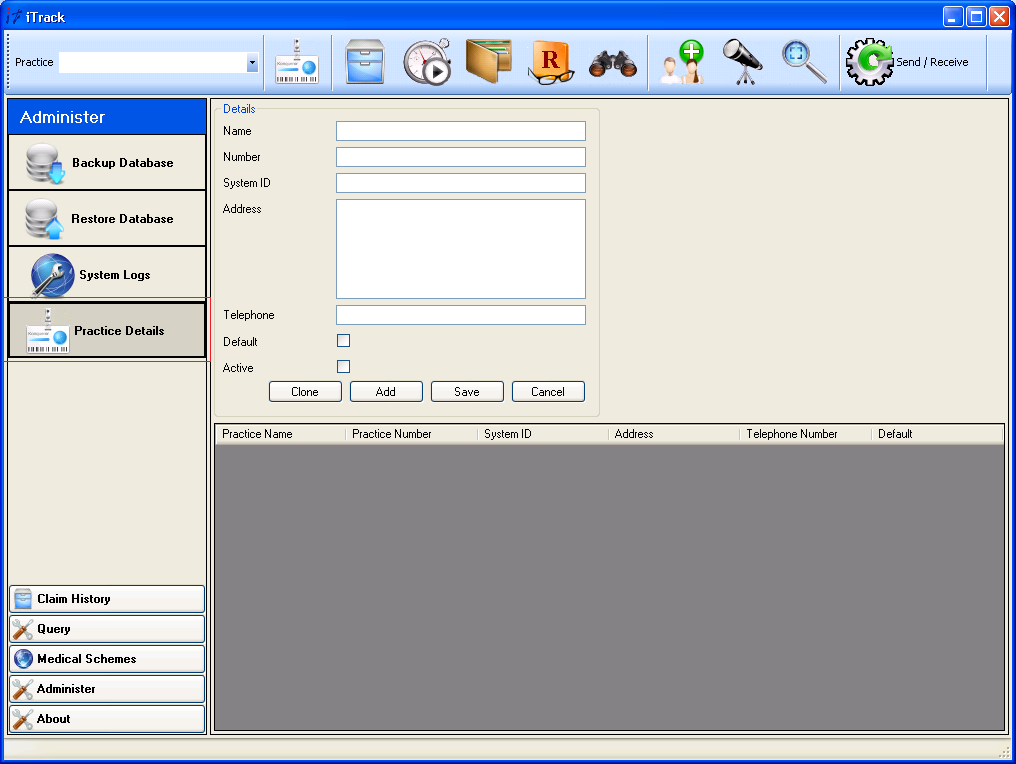
- Enter the details for the particular practice. Please note that once a Practice Number and System ID combination has been entered into the database, it can not be changed to ensure that data does not get orphaned. If a particular Practice Number and System ID combination is not to be used anymore, uncheck the Active flag on this screen to disable the entry. Click Save to store the details.

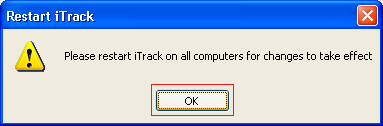
- Click OK and restart iTrack on all computers.
- Fields of importance on the Practice Details screen are Default, Active and Clone. Default is used to appoint a single Practice Number and System ID combination as the primary setup which will be loaded by the default when iTrack opens up. Active is used to enable or disable a Practice Number and System ID combination. Clone is used to make a copy of the selected practice record in the grid to avoid retyping all the details by hand.
Backup the iTrack database
It is recommended to perform routine backups of the iTrack database especially before upgrading iTrack and to have a copy of the database in case of system failure or theft. Backups can only be made from the server and should only be made while nobody is working on iTrack. Follow these steps to create a backup:
- Open iTrack on the server.

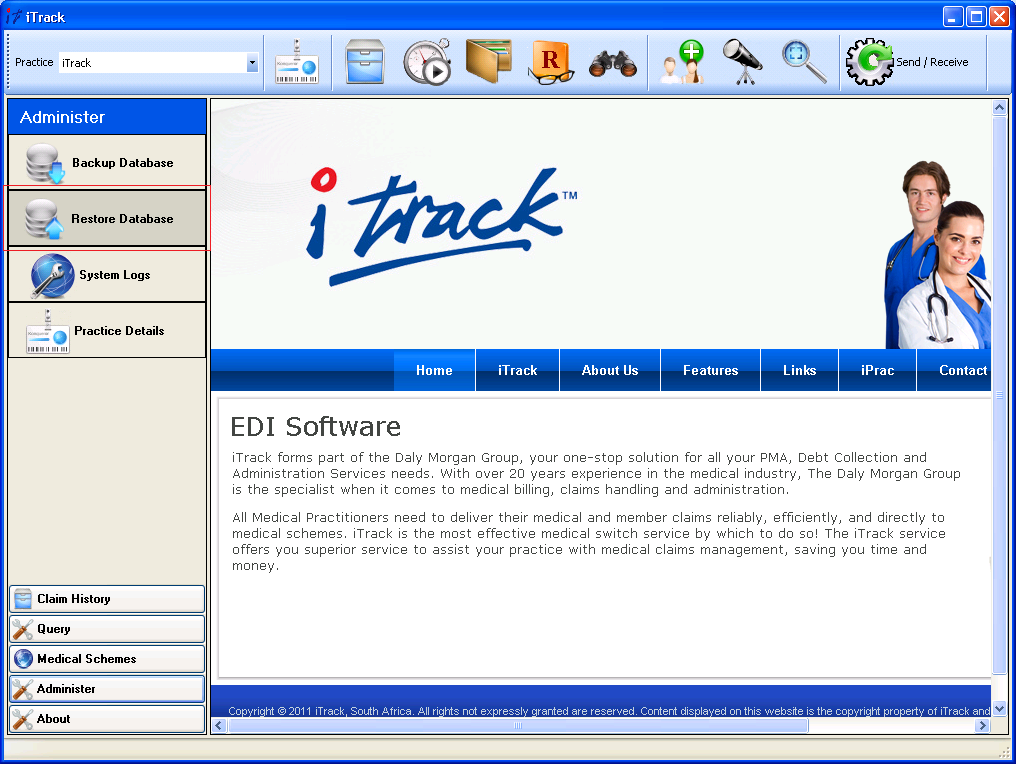
- Click on Administer.

- Click on Backup Database.

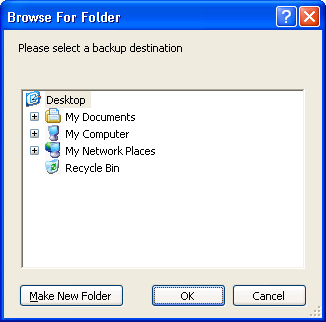
- Locate the shared folder on the server, click OK and wait for the backup to complete.


- Windows Explorer should open at the specified location to confirm the database backup on disk. If necessary, this would be a good opportunity to copy the backup file to another storage device. The filename of the database backup is generated using the Database Name, Date and Time seperated by underscores.

Restore the iTrack database
Restoring a database backup will result in any data added to the database after the database backup was done to be discarded. Please make absolutely sure that it is necessary for the restore process before starting it! The database restore process can only be done from the server and should be done when nobody else is using iTrack. Follow these steps to perform a database restore:
- Open iTrack on the server.

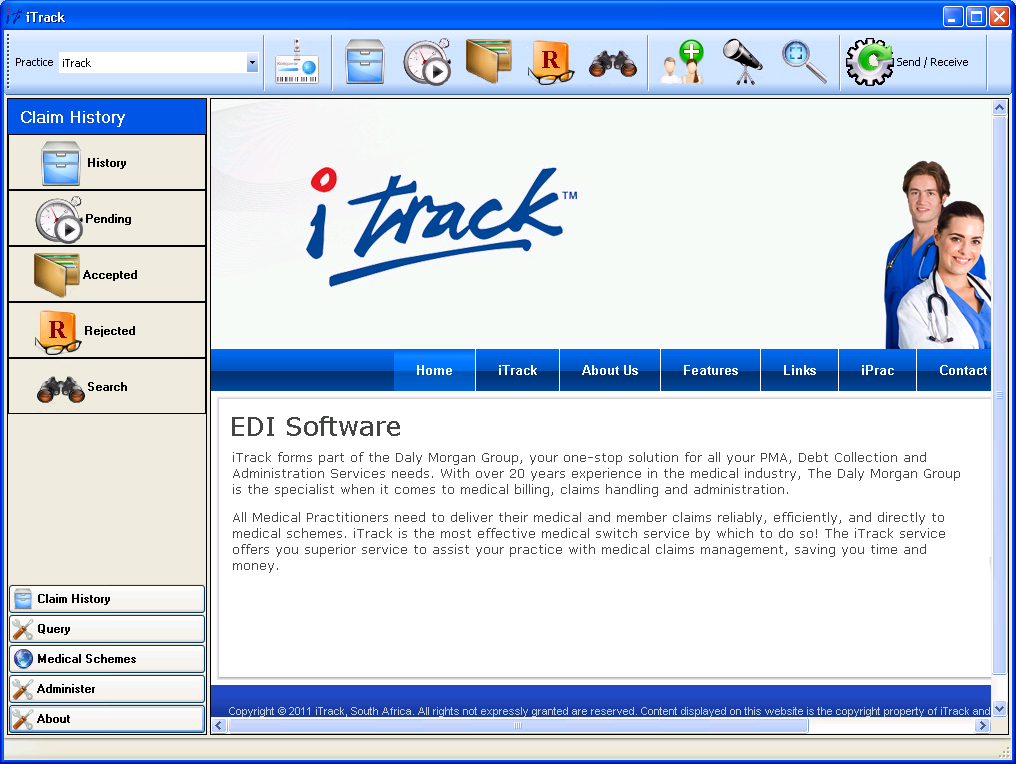
- Click on Administer.

- Click on Restore Database.
- Read the instructions and warning on the screen carefully.

- Click Yes to continue.

- Locate and select the database backup and click Open.

- Click Yes to confirm the restore process and wait for the restore process to complete.